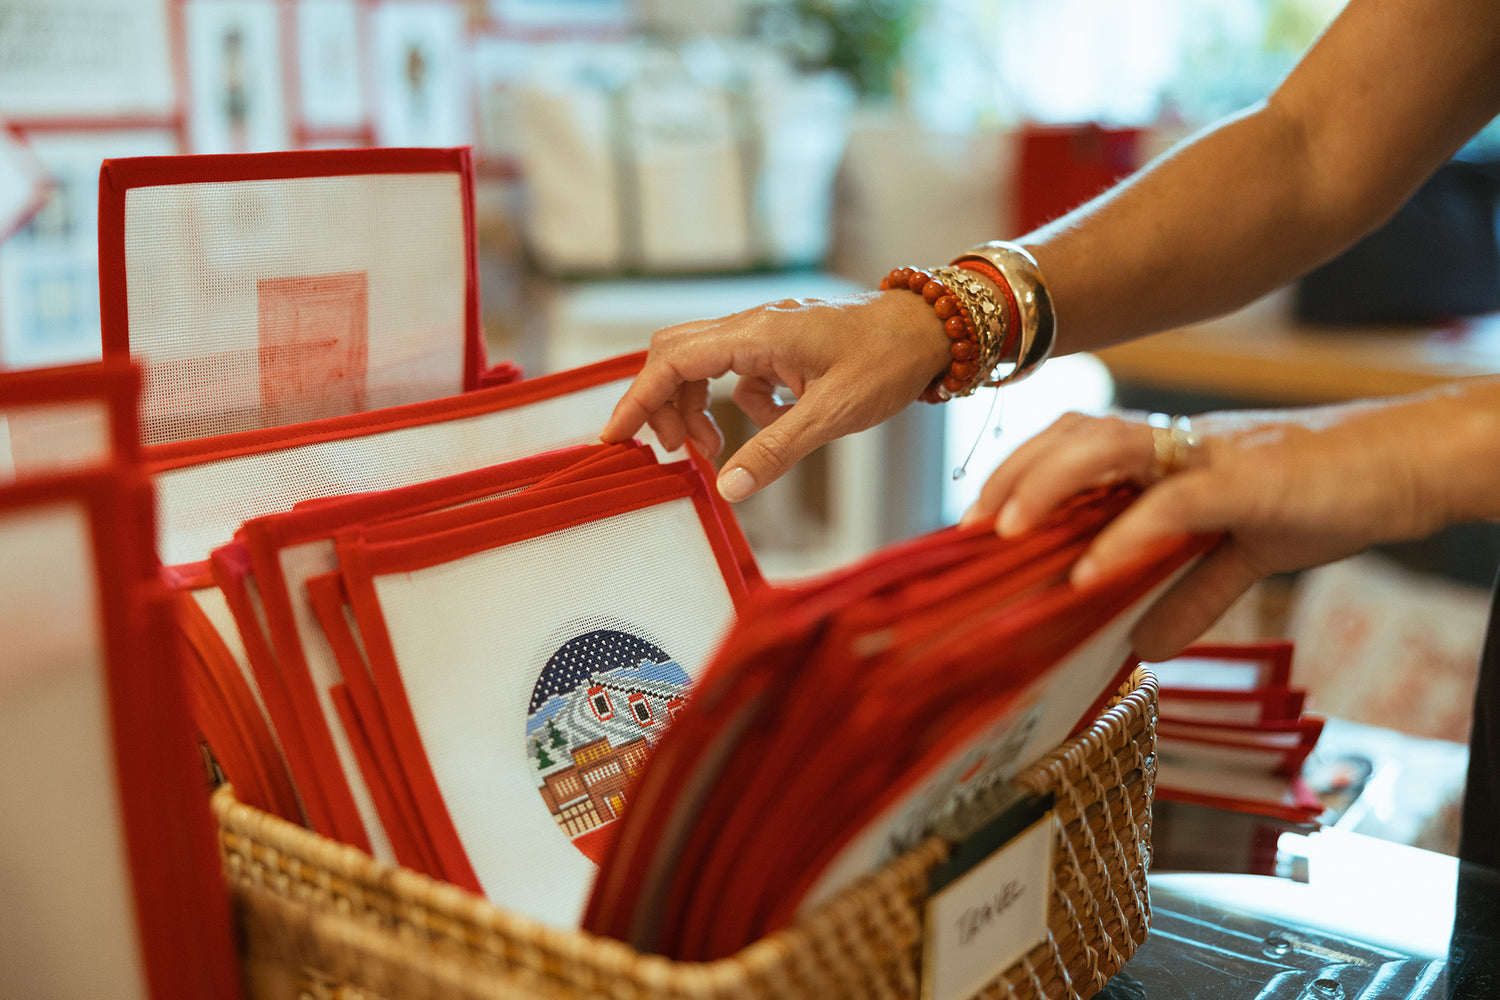
Needlepoint 101
Needlepoint 101 with THE RED THREAD ATELIER
Before you even take your first stitch:
- Dealing with the skein (pronounced skane, and yes, I hate this word) of fiber -
- Cut the tag or label from your skein and write the project on it if possible.
- Open and unravel the skein into an oval shape. Cut at both ends, two equal lengths of fiber. Cut a small piece of fiber to tie to your tag/label so you can keep track of the colors you’re using. Put this label in a safe place with all the colors from the same project in case you end up needing more fiber than you thought you’d need to finish your project. This way you can try to source the same dye lot of fiber.
- I like to loosely separate the fibers
- Take your fiber and tie a loose slip knot to prevent tangling. You will also find that you can use your needle tip to pull from nicely.
Time to start stitching, where to start.
- Every stitcher will tell you something different. Most start in the top right corner.
- For a beginner, a safe place to start is with the background. This is usually a larger area and will let you practice the same stitch repeatedly. If you have a small background, find a straight line to start on.
- Decide on your stitch. Continental or Basketweave is a good place to start with stitch choice. The stitch looks the same on the front but executes differently on the back.
Basketweave
- Basketweave is named for the woven basket-like pattern the stitches form on the backside of the canvas.
- Begin in the upper right hand corner of the canvas, stitching in diagonal rows.
- Pull up through 1 and down through 2 and so on.
- Basketweave provides better coverage and you will see less canvas warping.

Continental
- Continental is the simpler of the two stitches and a great one to get used to stitching with.
- With Continental, you are working from right to left horizontally along the row and then left to right along the next row, moving back and forth in this way. I try to remember that if the threadline is moving towards the left, I need to be actually stitching back to the right and vice versa.

Time to Dig in!
- Select your thread.
- Thread your needle and start from the back or underside of your canvas.
- Pull your thread up through your starting hole leaving a short tail. Anchor the tail with your finger so it doesn’t pull through.
- Your next stitch, attempt to anchor down the tail until it's taught.
- Continue to stitch over the tail thread, anchoring it to the canvas.
- To finish a thread, simply weave the thread under a couple stitches and then trim the end.
General Tips for happy stitching!
- Make sure you stitch in a clean and bright space.
- Stretch your arms and wrists every time you start a new thread to stave off any sort of cramping or tennis elbow situation.
- Keep your canvas flat, rolled or on a stretcher. I tug along the way in all directions to keep the warping at bay.
- Stitch like you’re goldilocks. Not too tight and not too loose. The main thing is consistent tension.
- It’s a good idea to start with white if it’s an element on your project. This way you dont pull other colors along with it. For example if you stitch white next to red it could end up looking pink.
- Have fun. It’s ok to make mistakes. Go back and fix it, or don’t!
- Start where you want. With whatever color you want. There’s really no right or wrong way! Stay true to you! I like to jump around based on color and design space.
Happy Stitching!
As always, reach out to me with any questions or emergencies. hello@theredthreadatelier.com YouTube has EVERY stitch tutorial you can imagine. And Google and Pinterest are life savers..

